[ad_1]
Estimated reading time: 7 minutes
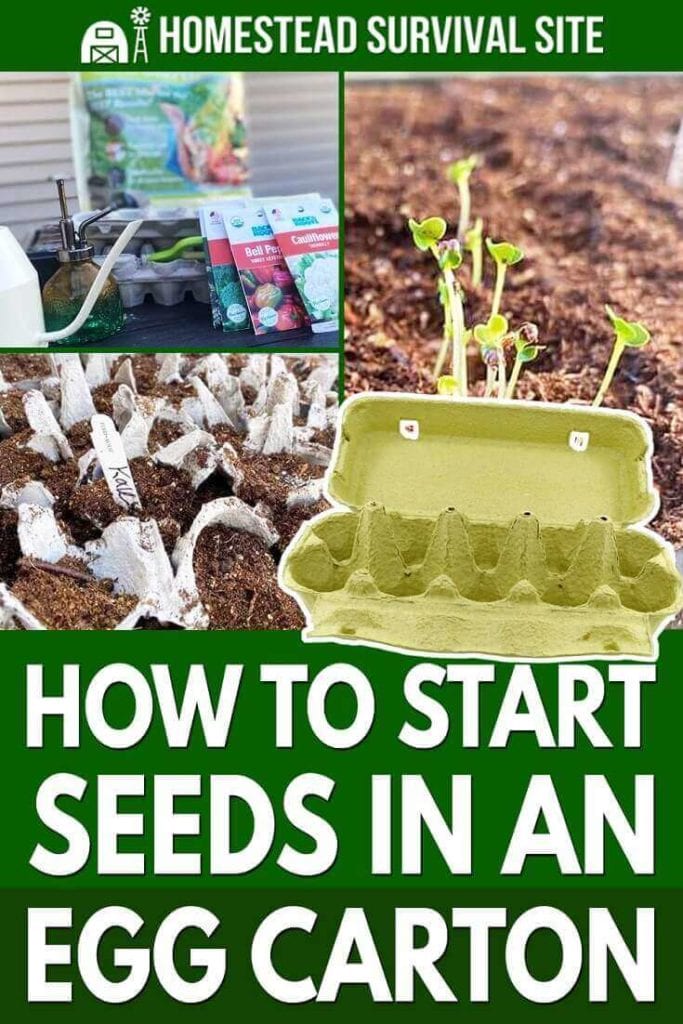
Did you know that paper egg cartons are great for starting seeds indoors? They’re practically free, they’re just the right size, and the carton is biodegradable. But before you get started, there are a few things you should know.
Depending on what kind of climate you are in, starting seeds indoors is best done between February and early May since most seedlings will do best with 5-8 weeks before transplant. Planting seeds or young plants in your garden will be most successful once you feel confident that frost is behind you.
What Seeds Fair Well Inside?
Not all plants should be started ahead of season. In fact, many vegetables will do just fine being planted once the threat of frost has passed. Vegetables that have a quick turnaround time like carrots, beets, and radishes are great seeds to hold on to plant directly into the ground.
Vining vegetables like squash, melons, and cucumbers can be delicate to transplant. If you do seed-start these plants indoors take extra care in gently transplanting. Also be gentle with peas and celery.
There are many vegetables that you can start inside that will transplant well:
- Broccoli
- Brussel Sprouts
- Cabbage
- Cauliflower
- Eggplant
- Herbs
- Kale
- Lettuce
- Okra
- Onion
- Peppers
- Sweet Potatoes
- Tomatoes
- Zucchini
Getting Started
To get started, you will need to acquire a few supplies.
- Egg cartons or biodegradable container from your local gardening store
- Seed-sprouting mix (soil alternative)
- Seeds
- Scissors
- Plastic domes or plastic wrap (optional)
- Extra lighting
- Draining pan or plate to set your seedlings on
- Fertilizer
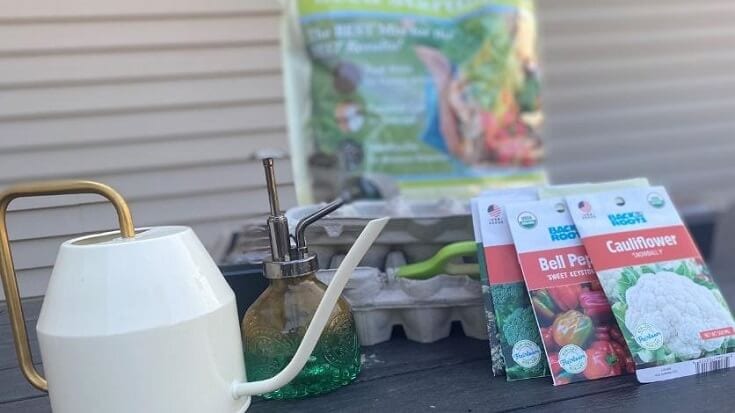
If you are planting in egg cartons, consider cutting apart the carton for easier transplant when you are ready. Because an egg carton is shallow, you may have some root entanglement to divide come transplant.
This is especially delicate for a young spouting, so simply cutting apart your carton assures that you will have an easier time planting outside. You can also use other recyclable materials like cut toilet paper and paper towel rolls.
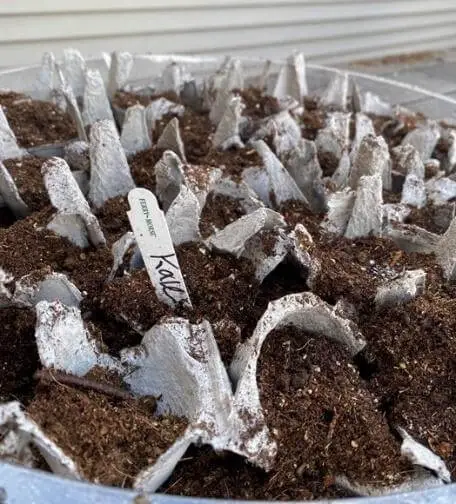
Check out the directions on your seed pack, each vegetable seed may have different requirements for planting depth. Start with a light layer of your seed-starter mix, cover with a light layer of water mist. Then add a 1-2 seeds, and then a light covering of more of the seed-starting mixture.
Some seeds do not get covered, so paying attention to the details of your seed packets will put the odds in your favor. This is a great time to let kids help.
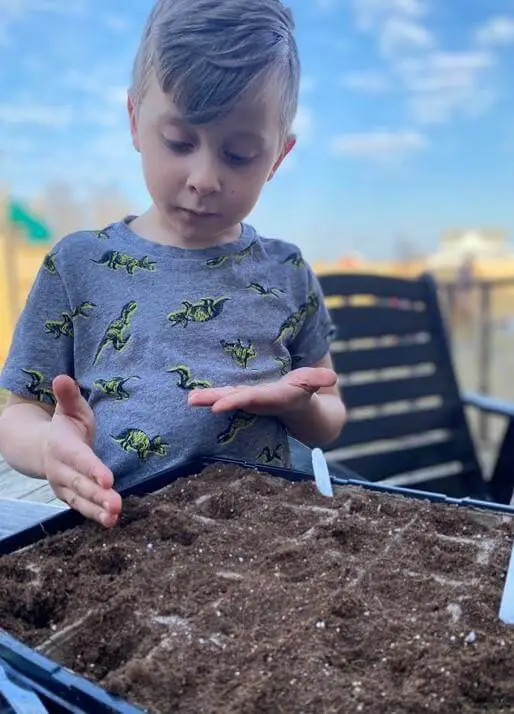
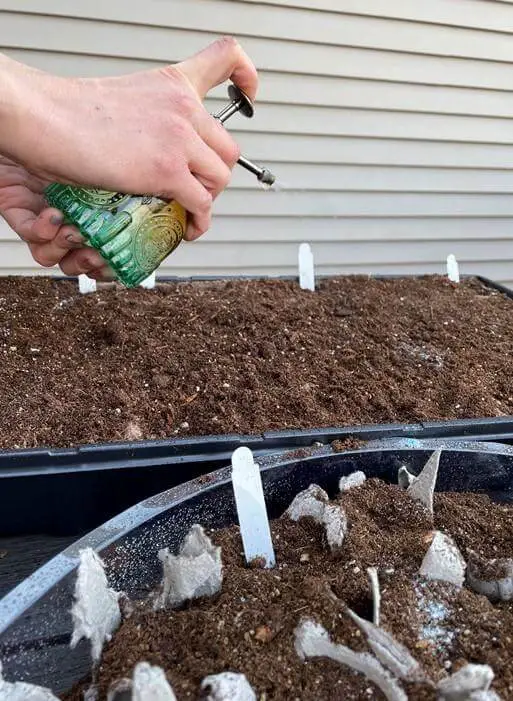
Once all your seeds are planted, gently mist the tops with water. While you wait for your seeds to germinate, keep the seed starting mix moist but not too wet. You do not want to waterlog your seeds, but they will need constant moisture. A mister will help achieve the desired water level.
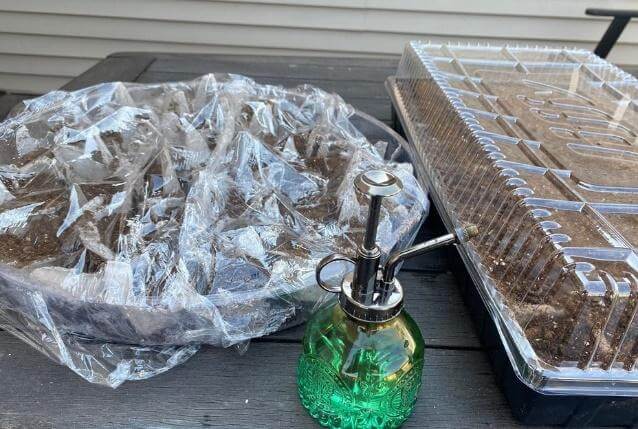
You may want to use a plastic dome or a layer of plastic wrap over the top of your newly planted seeds. This will act to trap moisture and humidity inside, while the seeds germinate.
You will remove this covering once you see a sprout pop out of the dirt. If you are using cut recyclable materials, you can set them on a plate or draining tray to cover multiple seedlings more easily by covering the whole tray with your plastic wrap.
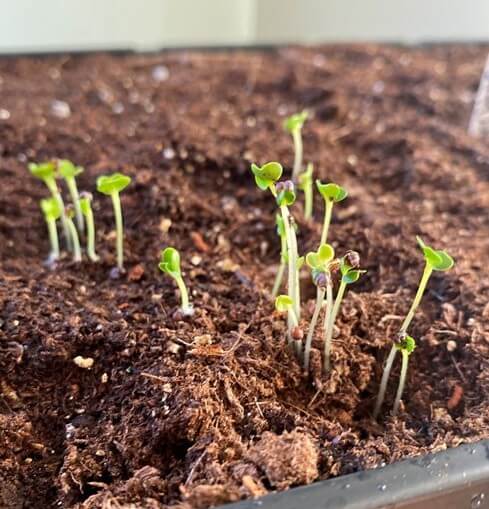
Once you have sprouts, check daily to make sure your soil does not dry out. Baby plants will need the moisture as they grow. Once you have seen your plants for a week, add a vegetable fertilizer to your routine once a week.
If you do not have full sunlight on the plants for most of the day, adding supplemental lighting will help. Even a fluorescent light above your plants will be sufficient in helping them grow. It is an ideal if you have a light that can be adjustable to aim right about the seedlings.
If you have a plant that starts to outgrow its small container, repotting to a larger container will help establish more mature and secure roots for transplant.
Time to Transplant
Most of your seeds will take about 5-8 weeks before they are ready to be moved into the garden. Before you consider making the move, you will need to harden your seedling off. This just means that you will need to help your plants acclimate to varying weather since they are used to the constant climate of your home.
You can start by putting a light fan on your plants a few hours a day, and then gradually moving the plants outdoors for a few hours a day. You can increase the time outside to best prepare your plants for the move. Also, during this time, you should switch to a watering can above the plants to more simulate the natural rain they will receive outdoors.
Do not water every day to give the plants an accurate representation of the fluctuation they may experience outside. This process should typically take 7-10 days, though allowing this to be a slow process will offer the best results.
As you plant in the garden, delicately detangle roots if you kept your egg carton in-tack. Be sure to give each plant a gentle handling in the transplant.
If you have used a biodegradable material like egg cartons, or a purchased biodegradable material, you can offer less stress to the roots by simply planting the whole cut individual container as is. The less root handling the better to keep your baby plant healthy, which is why it is suggested that you pre-separate your egg carton.
Once you have planted, adding some diluted fertilizer may help prevent transplant shock. Considering shock, keep an eye on your water levels. At this point, you will have lessened your watering in the hardening process, pay attention if there needs to be a slight increase of water once planted.
Extra wind can cause your plant to dry out quickly, so attentive care to weather conditions will ensure the best results. A general rule of (green) thumb: attentive care to weather conditions will always ensure the best results.
Up Next:
You May Also Like:
[ad_2]
Source link
Get more stuff like this
in your inbox
Don't Be Left Unprepared
Thank you for subscribing.
Something went wrong.


