[ad_1]
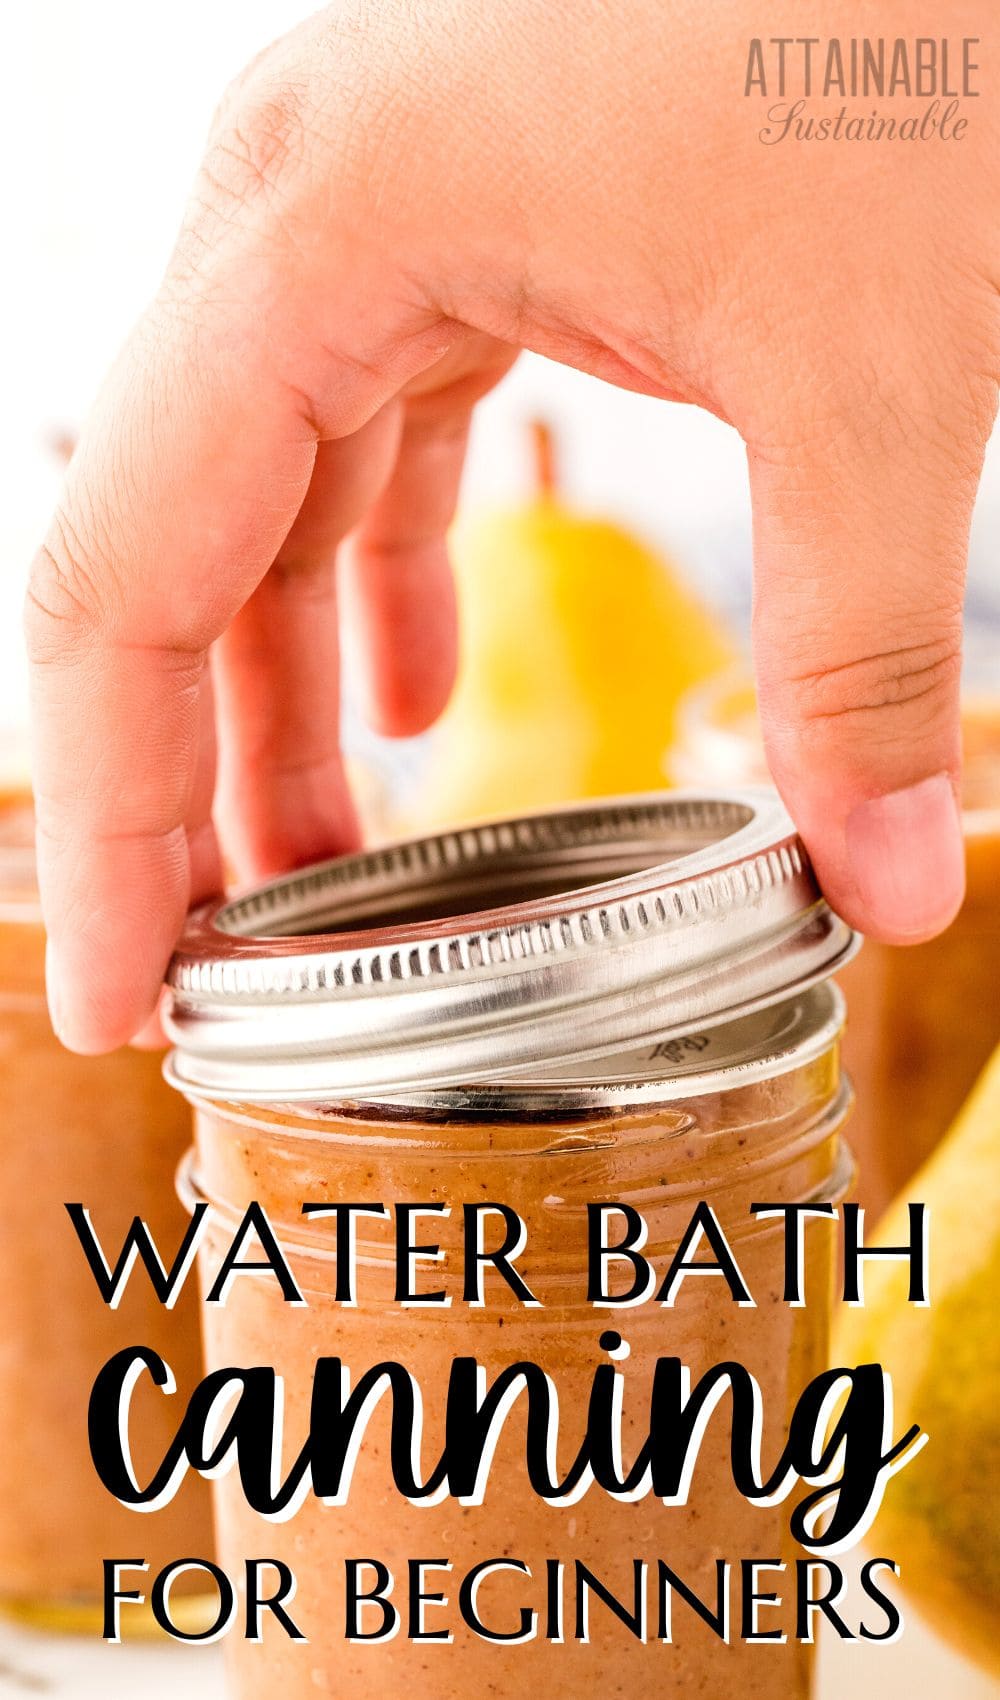
Water bath canning is the process of heating jars of food to make them shelf stable. It’s one of my favorite home food preservation methods for stocking the pantry.
The process is easy, and one that I recommend for beginning home canners. That doesn’t mean you can disregard safety rules, though.
I’m a certified Master Food Preserver and all of the canning information you’ll find on this site comes through the lens of SAFE canning, following USDA guidelines. I want you to fill your pantry, but I want you to do it without making anyone sick.
Below, I’ll share what you need to get started, what can and cannot be safely canned using this home canning method, and a step-by-step guide to the water bath canning process.
The Handcrafted Pantry
Ready to DIY your pantry with more wholesome ingredients? Check out my ebook, The Handcrafted Pantry! Filled with delicious recipes for some of your favorite condiments, snacks, and toppings, it’s the guide you need to start skipping packaged products and embrace homemade.
Getting Started with Water Bath Canning
This method calls for submerging filled jars in boiling water for a designated amount of time. The food inside the jars will reach at least 180°F, killing the molds, yeasts, and bacteria commonly present in our surroundings — and potentially on the foods we preserve.
If not processed properly, these enzymes can continue to grow inside the jar, even if the jar is sealed.
5 Easy Steps to Transform Your Pantry!
Ready to switch from store bought to homemade? Let me help you make some changes! Grab my FREE five-part guide to getting started.
What Foods Can Be Safely Water Bath Canned?
It’s safe to can foods that are acidic (pH level of 4.6 or lower) with this method; acidic foods will not harbor botulism spores so the heat of boiling water is sufficient. (Note that the Hawai’i Master Food Preservers recommend using a pH of 4.2 or lower when canning in tropical and sub-tropical regions.)
Potential hydrogen (pH) is a unit of measurement that determines the acidity of foods. In a confusing twist, foods with a higher pH number (above 4.6) are considered low acid. Foods with a lower pH number (less than 4.6) are considered acidic and thus safe for water bath canning.
Foods that can be safely processed in a water bath canner:
- Most fruits
- Most tomatoes
- Salsa — fruit or tomato
- Pickles and other acidified foods
- Fermented foods with the proper pH
- Fruit spreads
Go here for a collection of canning recipes using this method.
What Cannot be Canned in a Water Bath?
Low-acid conditions have the potential for supporting the growth of Clostridium Botulinum. In most cases, these spores don’t make people sick. But given the chance, the spores can grow and multiply, and according to the Centers for Disease Control can become one of the most lethal toxins known.
Properly processing low acid foods in a pressure canner kills C. Botulinum spores.
Using a pressure canner allows us to heat the contents of jars to a temperature of 240ºF, which kills botulism spores. That temperature cannot be achieved in a simple boiling water bath; water boils at 212ºF which is simply not hot enough to kill botulism spores.
It’s important to note that it’s not the pressure that kills bacteria. It’s the heat. And that kind of heat cannot be achieved by boiling water alone.
Foods that cannot be canned in a boiling water bath include:
- Meat, poultry, and seafood
- Broth or stock
- Soups and other ready-to-eat meals
- Dry beans
- Vegetables (with the exception of pickles)
Read more about the pressure canning process here.
What Do I Process The Jars In?
A water bath canning pot is often sold as part of a set that includes some of the tools mentioned here. These canners hold 7-9 quart-size jars and come equipped with a rack that prevents the jars from sitting directly on the bottom of the canner.
A canning pot isn’t entirely necessary, though. A deep stock pot is something most kitchens are already equipped with and can stand in for a water bath canning pot in a pinch.
You won’t be able to process as many jars at once, and you’ll have to stick with smaller jars, but for small batch water bath canning, it’s a good solution. You just need to be certain that the jars are completely covered by one-to-two inches of water. Read more about preserving food in jars without a canner here.
For a longer list of helpful canning supplies, check here.
Step-By-Step Guide
Start: Read recipe; assemble ingredients and necessary equipment.
Prepare the canning pot: Fill canner with water sufficient to cover jars and start heating. Heat extra water in a kettle or additional pot for topping off the water level.
Prepare the jars: Wash and rinse canning jars, inspecting for chips or cracks. Place jars in the canning pot full of water as it’s warming. Warming jars before filling them can prevent thermal shock and reduce risk of breakage.
Prepare the lids: Prepare canning lids as suggested by manufacturer. Boiling lids was once recommended, but heating modern lids above 180°F can damage the sealing compound.
Get ready to fill the jars: Remove jars from the hot water and place on a towel-lined countertop. Fill according to recipe, making sure to allow the proper amount of headspace.
Nix the bubbles: Use a bubble tool or plastic knife to dislodge any trapped air bubbles. Re-check headspace after doing so to be sure it’s where it should be.
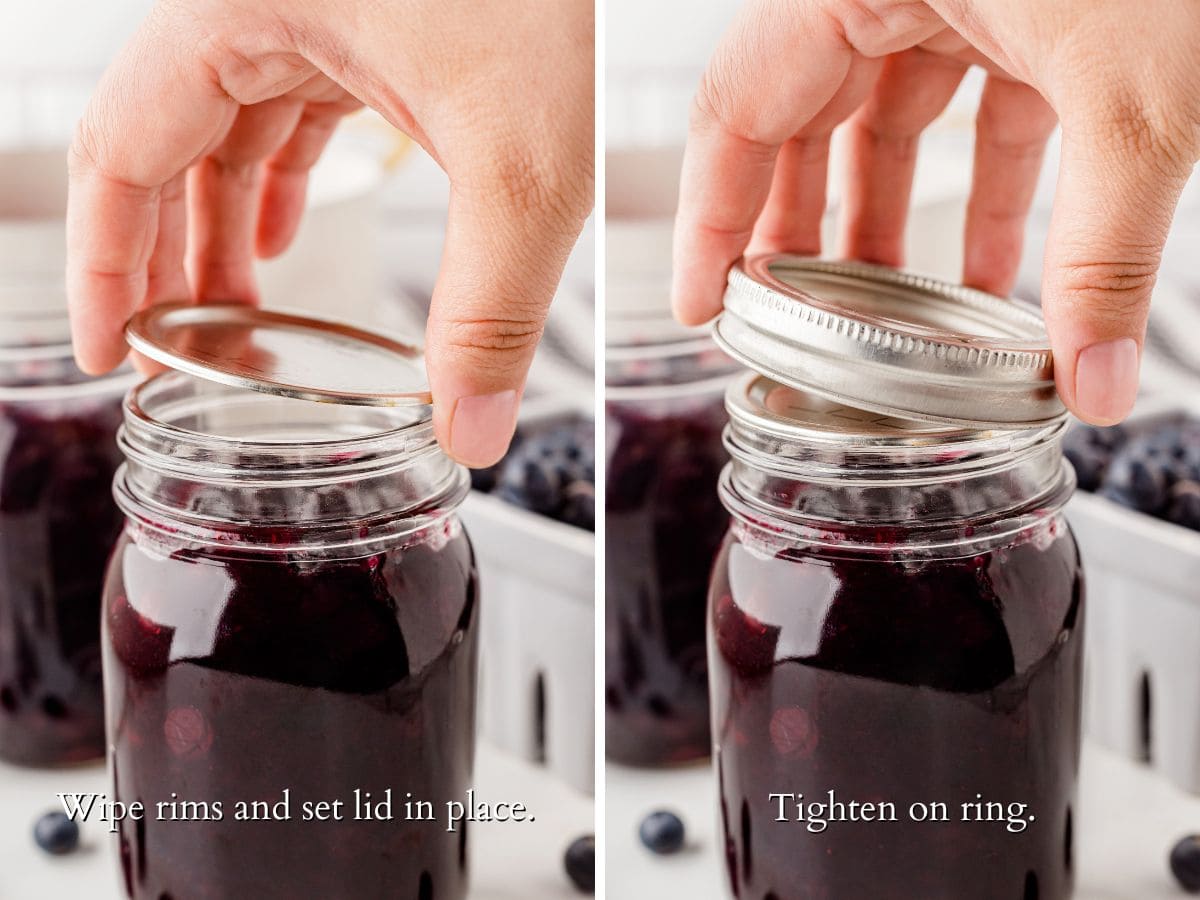
Clean the rims: Wipe jar rims with a damp rag to remove residue. A clean rim is essential for a good seal.
Affix lids and rings: Place lid on jar and screw on a metal band.
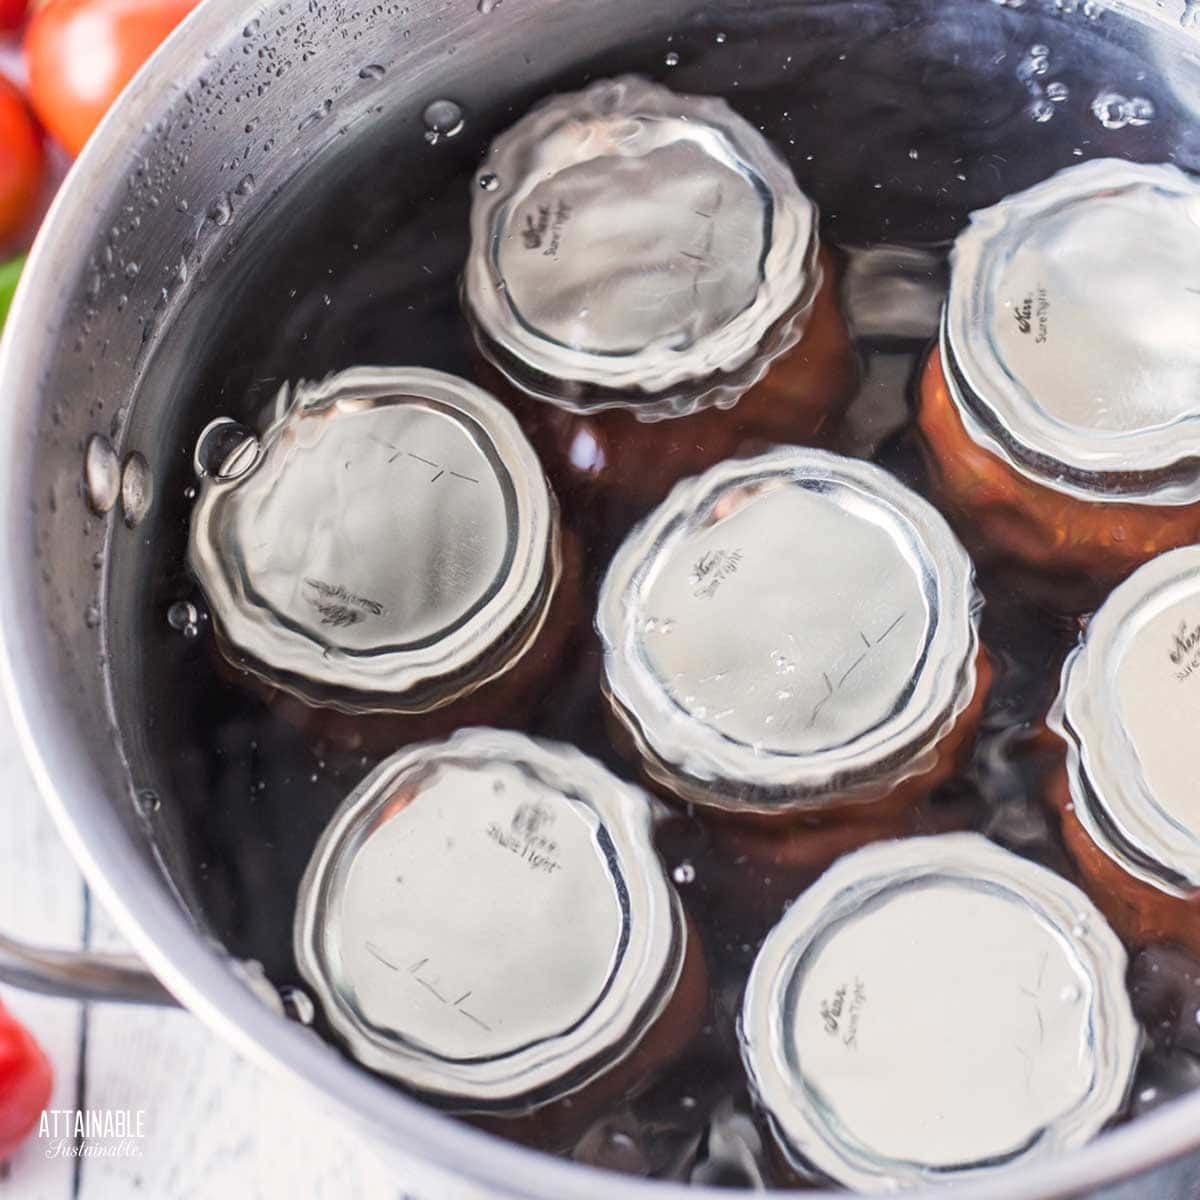
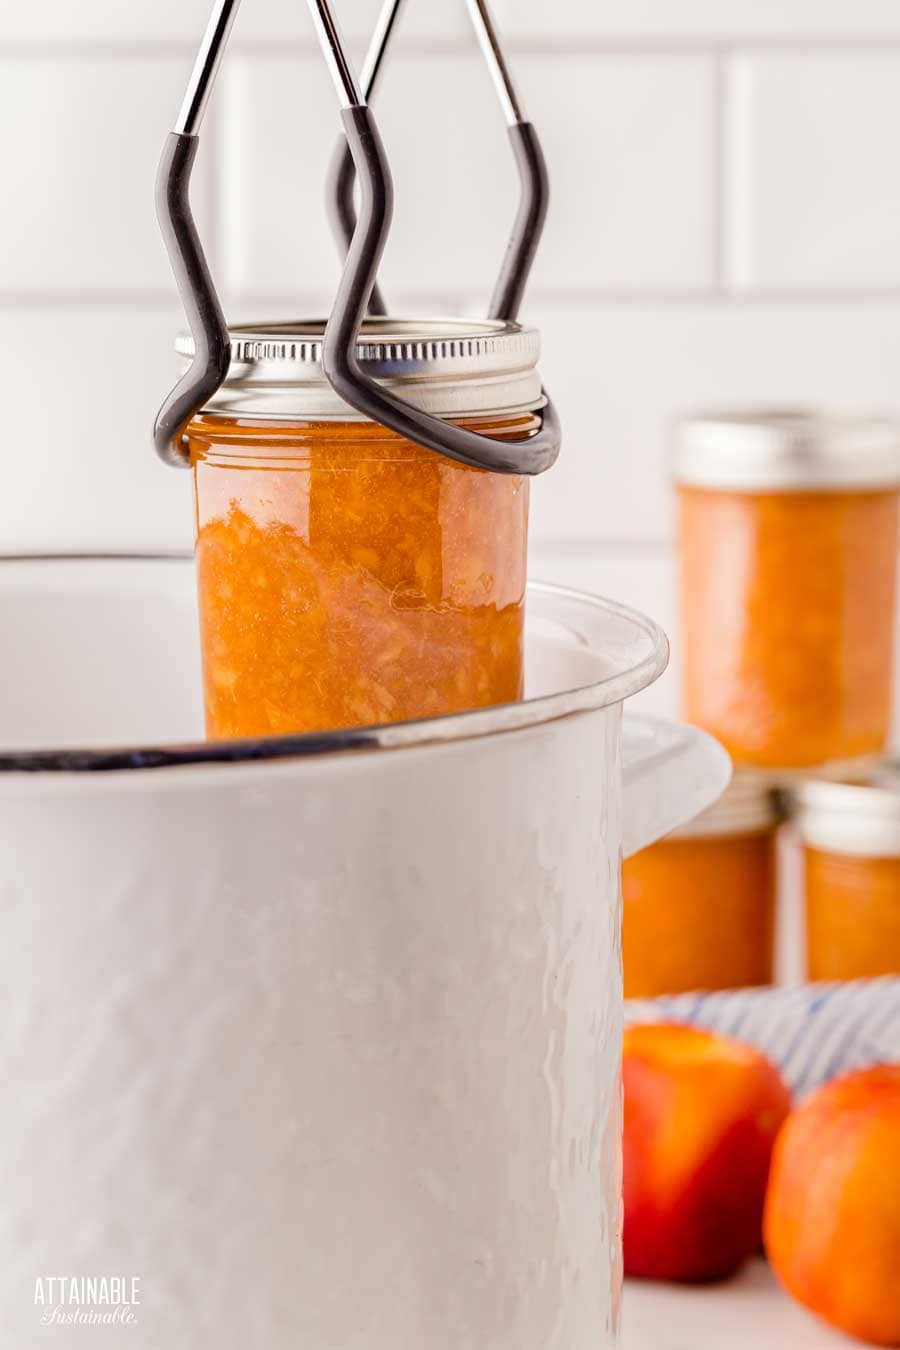
Move jars to canner: Use a jar lifter to place jars into the hot canner, ensuring that jars are covered by 1 to 2 inches of water.
Process jars: Return water to a rolling boil and start timer; processing time will vary depending on the recipe. Cover the canner with a lid during the processing time. Adjust heat to maintain a gentle boil (not just a simmer) for the entire processing time.
Wait a sec: Turn off heat and wait 5 minutes. Why? Allowing the jars to cool in the water slightly before lifting them into air temperature can help to prevent siphoning. (This is a recommendation from experience, but not a safety requirement.)
Remove and cool jars: Use a jar lifter to remove jars from canner and place on a solid surface. Allow to cool undisturbed for at least 12 hours.
🍅 Safety First!
Canning is an excellent way to preserve food for the pantry, but there are some important safety considerations to keep in mind. The recipes on this site have been made following safe canning procedures by a certified Master Food Preserver.
- Know the difference between water bath canning and pressure canning. Low acid items must be pressure canned for safety.
- Altering ingredients may change the recipe’s pH, posing a safety issue. I highly recommend investing in pH paper to test your products for acidity level when canning. Note: For safe water bath canning, the Hawaii Master Food Preservers suggest a pH of 4.2 or lower in the tropics. In other regions, the recommended pH is 4.6 or lower.
- Use the proper jars and lids. Never reuse lids, with the exception of the Tattler or Harvest Right hard plastic lids that are intended for such a purpose.
- For more on canning equipment, please go here.
[ad_2]
Source link
Get more stuff like this
in your inbox
Don't Be Left Unprepared
Thank you for subscribing.
Something went wrong.

